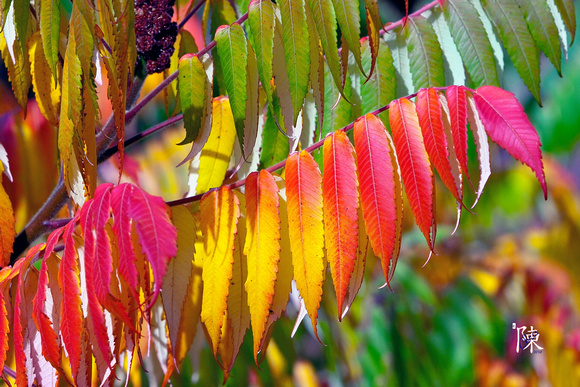
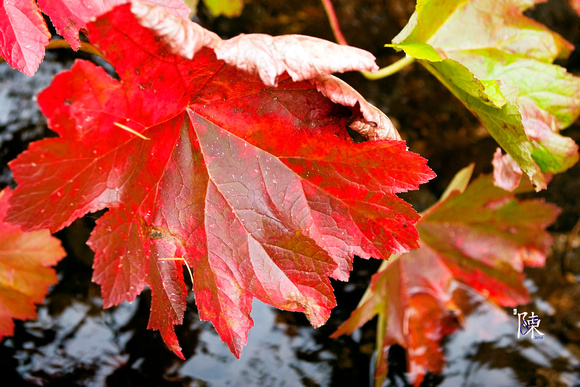
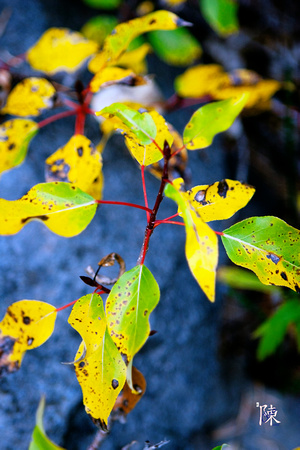
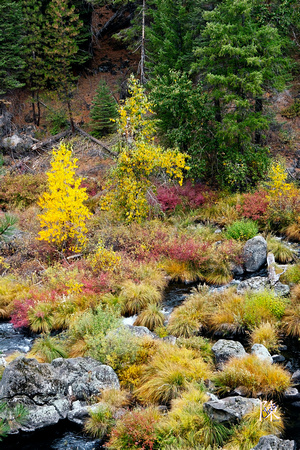
Its fall, the temperatures are dropping and for those of us here in Northern California, its time to start thinking of a fall foliage trip to capture the amazing show of colors that nature puts on for us every year. Though the colors are not as brilliant and wide in range as they are back east (aka New England area), we still get an excellent show due to the magnificent backdrops that the Sierras provide with high mountain peaks and alpine lakes, rivers and streams.
Prime fall foliage season in the Sierras generally falls between late September and early November, depending on the weather conditions for that specific year. The most popular area is in the Eastern Sierras, from Mono Lake down to Bishop. Here we find many places to shoot brilliant yellows with patches of orange and reds. The nicest places to shoot include Lundy Canyon, Rock Creek, June Lake and Bishop Canyon area (North Lake, Lake Sabrina, South Lake). Closer to Tahoe is the Hope Valley area.
Another popular area is the Plumas County area. Located in the far northern sierras, this area is known to be rich in maples, providing that rich scarlet red that many of us yearn. Many of the other trees and plants in the area fill out the color palette – California Black Oak, Indian Rhubarb, Mountain Dogwood and the perennial quaking aspens. Some of the best areas to shoot include Lake Almanor/Chester, Feather River Canyon, Quincy-Oroville Road and the Lakes Basin.
If you plan to shoot the fall foliage, here are a few essential tips;
1) Shoot during the “golden hours” – Early morning or late afternoon.
2) Use a tripod
3) Shoot in RAW – This allows for an endless amount of post-shoot processing of the photo. It also provides a richer color gamut and greater flexibility to recover from errors during the capture process.
4) Limit the use of the polarizer and don’t use full strength – Often, at full strength, the skies turn a dark blue which may look a bit unnatural. If using a wide angle lens, be careful that the saturation is distributed evenly across the sky or you may end up with an unnatural looking shot.
5) Use a Graduated Neutral Density filter – Particularly useful in the sierras where a capture without a filter will result in a blown out sky. The ND filter helps maintain that blue sky and detail in the shade.
6) Bring long a laptop – after a long morning of shooting, its always nice to review your photos, saving the keepers and discarding the ones that didn’t turn out so good. It also ensures that you got the photos you intended to capture and allows you to fix any problems that may be preventing you from getting the shot you came to get.
7) Forget the enhancing/warming filters – In today’s digital age, we have Photoshop (or similar photo processing programs) which allow us to selectively enhance specific colors.
8) White Balance settings – Instead of using Auto White Balance, you can use Shade or Cloudy to adjust overall color bias and make the shot a bit warmer.
9) If the sky is grey, limit the amount of sky you put into the shot.
10) Close up shots – To capture the essence of fall, get some close-up shots of trees, leaves, rock and water capturing the different textures and colors.
For more fall foliage photos, check out;
Eastern Sierras – http://cchinstudios.zenfolio.com/2009fallfoliage
Plumas County – http://cchinstudios.zenfolio.com/2010plumascounty
Two resource sites for planning your outing are;
Carol Leigh’s Fall Color Report
Plumas County Leaf Peeper Report


Nice pics, insightful suggestions, great writing. Ur bookmarkked and subscribed to.